PRECAUTIONS
Due to its strong, long-wearing formula, please keep these points in mind:
Thorough Removal is Mandatory: This product is designed to be waterproof and transfer-resistant. You must use an oil-based makeup remover or a biphasic micellar water. Soak a cotton pad and hold it against your brow for 10-15 seconds to dissolve the product before wiping it away. Failure to remove it completely can lead to clogged pores.
Patch Test Recommended: If you have very sensitive or acne-prone skin, especially around the brow area, do a patch test on your arm or jawline first. The film-forming polymers, while safe, can be occlusive if not properly removed.
Avoid the Immediate Eye Area: This is a brow product. Take care to not get it directly into your eyes. If contact occurs, rinse thoroughly with water.
Do Not Use on Broken Skin: Avoid application on any cuts, abrasions, or active skin conditions like eczema or psoriasis on the brow.
Close Tightly After Use: The formula is solvent-based. Closing the cap tightly prevents it from drying out and ensures the product lasts. And store at room temperature away from light and keep out of reach of children.
HOW TO APPLY
For best results, follow these steps. The key is to work quickly and with a light hand before the formula sets.
Step 1: Prep Your Brows
- Ensure your brow area is clean, dry, and free of any oils or moisturizer. This allows the product to adhere properly and last longer.
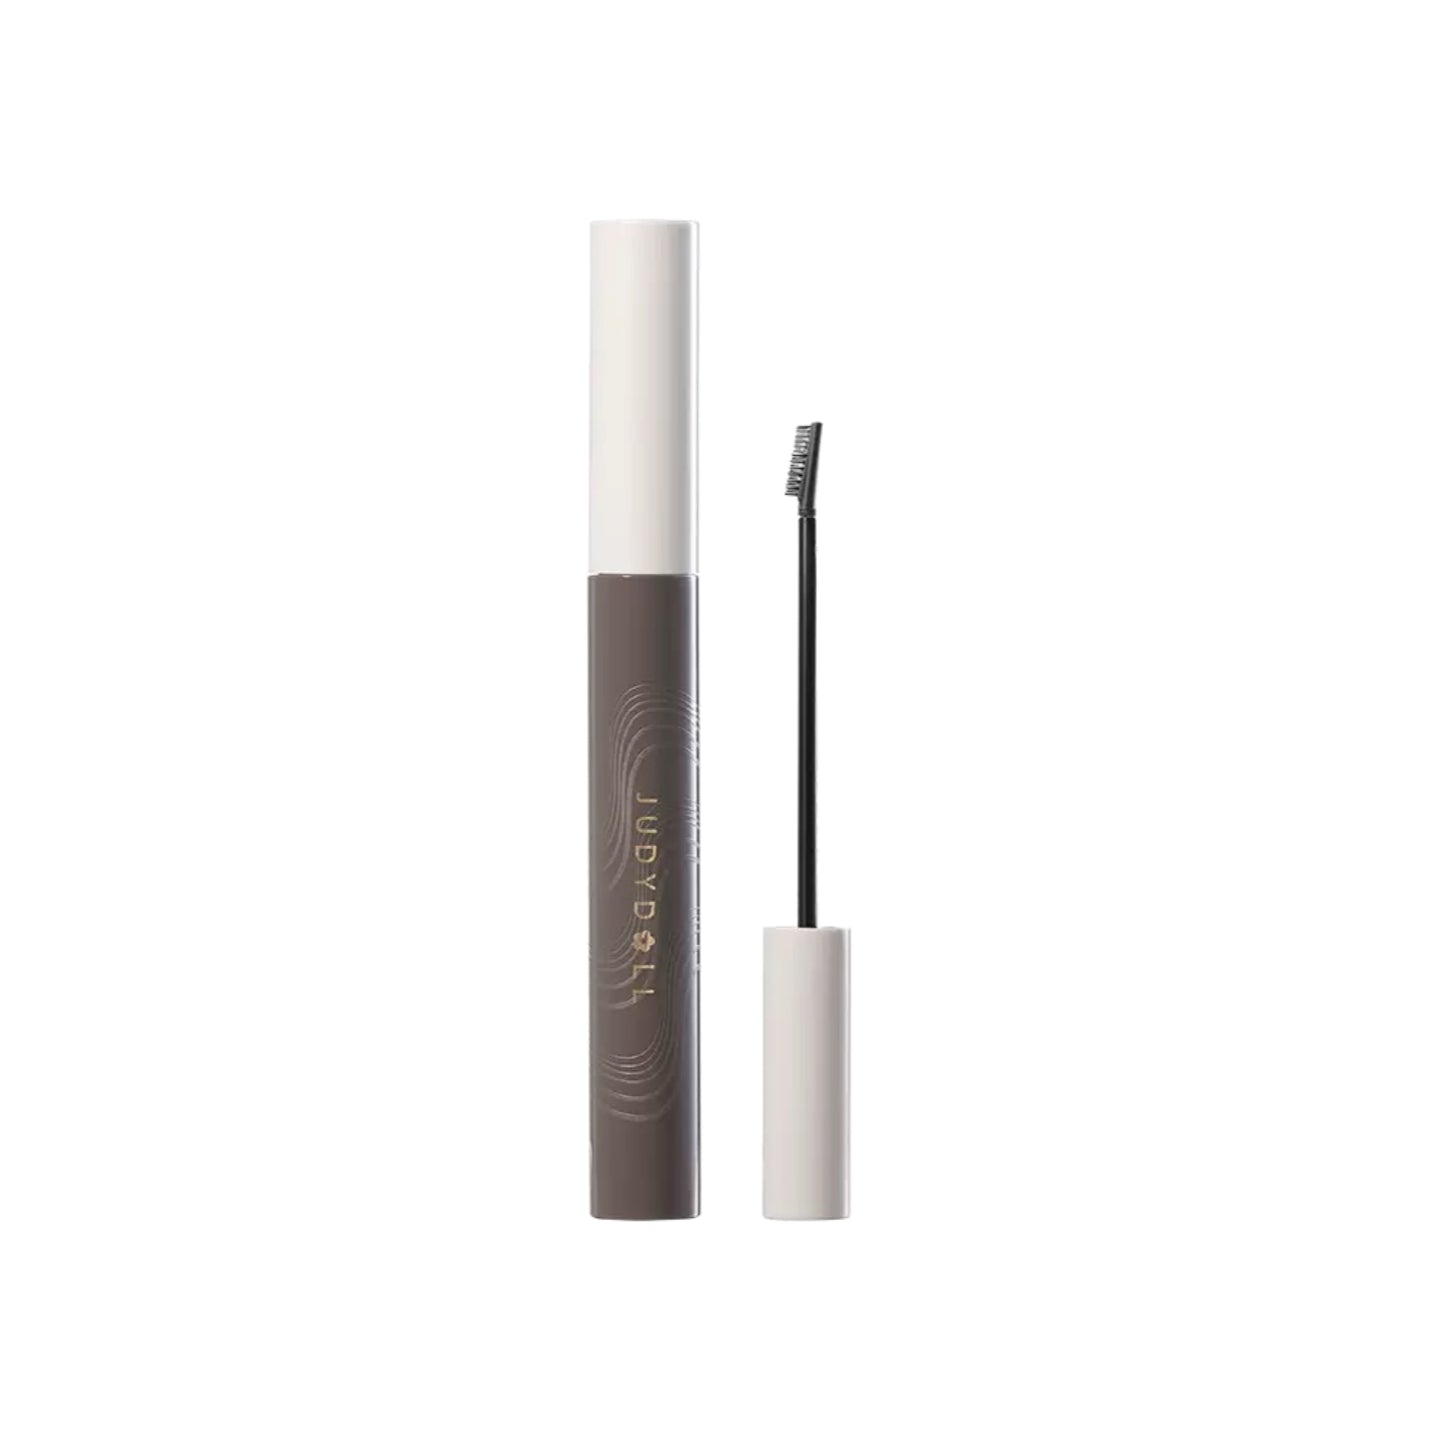
Step 2: Wipe the Wand
- After pulling the wand out of the tube, gently wipe off the excess product on the neck of the tube. This is the most crucial step to avoid over-application and clumping.
Step 3: Shape and Define (The "Precision" Step)
- Use the tip of the wand to draw hair-like strokes in any sparse areas of your brow, starting from the bottom of your arch and working towards the tail to define your shape.
- Focus on drawing upward strokes to mimic natural hair growth, particularly at the front of the brow.
Step 4: Fill and Set (The "Mascara" Step)
- Use the side of the wand to brush the product through the rest of your brow hairs, coating them from root to tip.
- Brush upwards and outwards to create a feathered, full effect. This step deposits color and sets the hairs in place.
Step 5: Shape and Finalize
- Use the spoolie to brush and shape your brows into your desired position before the product fully dries (within ~30 seconds).
- Pro Tip: If you make a mistake or get product on your skin, quickly clean it up with a pointed cotton swab dipped in makeup remover before it sets.
Step 6: Let it Set
- Allow the product 1-2 minutes to dry completely. Once dry, it will be smudge-proof and transfer-resistant.
Less is more. You can always add more product, but it's difficult to remove once applied. Build the color and hold gradually.